# Lesson 1 | Setup
In this lesson, you’ll learn how to set up a new Compose SDK project and display a chatbot in that project. If you've gone through the Charts Tutorial, you'll notice that it's similar to Lesson 1.
# Prerequisites
Before getting started, you’ll need:
- Node.js version 16 or higher
- npm
You’ll also need access to a Sisense instance with:
- The Sample Retail and Sample ECommerce data sources (you may need to go into each data model and unhide some of the columns that are hidden by default)
- An API Token you can use to query with
- CORS settings that allow requests from
http://localhost:5173, the URL that Vite serves your project on locally - GenAI enabled (opens new window)
# Create a project
Let’s start by creating a React project and installing dependencies. We’ll use Vite to create a new project.
- Navigate to the directory where you want to create your project
- Run
npm create vite@latest - Name your project
compose-sdk-genai-tutorialwhen prompted - Select
Reactas the framework - Select
TypeScriptas the variant - Run
cd compose-sdk-genai-tutorialto navigate to your project directory - Run
npm installto install your project and dependencies - Run
npm i @sisense/sdk-ui @sisense/sdk-datato install Sisense packages
# Add context providers
Now we can start writing our first bit of code.
Since most of our Compose SDK functionality needs access to a Sisense instance, the first thing we need to do is set up that access with <SisenseContextProvider>. There are a number of places you can choose to add it. Here, we’ll add the provider in main.tsx.
In main.tsx, import the SisenseContextProvider from the sdk-ui module:
import { SisenseContextProvider } from '@sisense/sdk-ui';
Wrap the <App> component with a <SisenseContextProvider> like this:
<SisenseContextProvider
  url={import.meta.env.VITE_APP_SISENSE_URL}
  token={import.meta.env.VITE_APP_SISENSE_TOKEN}
>
  <App />
</SisenseContextProvider>
This will read the Sisense instance URL and API Token from an .env, so let’s add that file now.
- Create a file named
.env.localin your project’s root directory - Add a
VITE_APP_SISENSE_URLvariable and set its value to your Sisense instance’s URL - Add a
VITE_APP_SISENSE_TOKENvariable and set it value to your API Token
Your .env.local file should look something like this:
VITE_APP_SISENSE_URL="http://myinstanceurl/"
VITE_APP_SISENSE_TOKEN="OiJhbGJeyciIUzI1..."
You'll also need the <AiContextProvider>. This is required for using any of the components exported from @sisense/sdk-ui/ai.
In main.tsx, import the SisenseContextProvider from the sdk-ui/ai namespace:
import { AiContextProvider } from '@sisense/sdk-ui/ai';
This component internally uses the SisenseContextProvider, so we'll go ahead and nest this provider in between our <SisenseContextProvider> and <App> components.
<SisenseContextProvider
  url={import.meta.env.VITE_APP_SISENSE_URL}
  token={import.meta.env.VITE_APP_SISENSE_TOKEN}
>
  <AiContextProvider>
    <App />
  </AiContextProvider>
</SisenseContextProvider>
# Add a chatbot
Finally, with all the setup out of the way, we can add a chatbot to our project.
In the App.tsx file, import the <Chatbot> component.
Note: From here on in we won’t mention imports anymore. Just know that you’ll need to add the appropriate imports as we continue to add code to our project.
import { Chatbot } from '@sisense/sdk-ui/ai';
Then, replace the contents of the App() function with the following code to render a basic chatbot.
return (
  <Chatbot />
);
# Run
Use the npm run dev command to get your project up and running so you can see it in action.
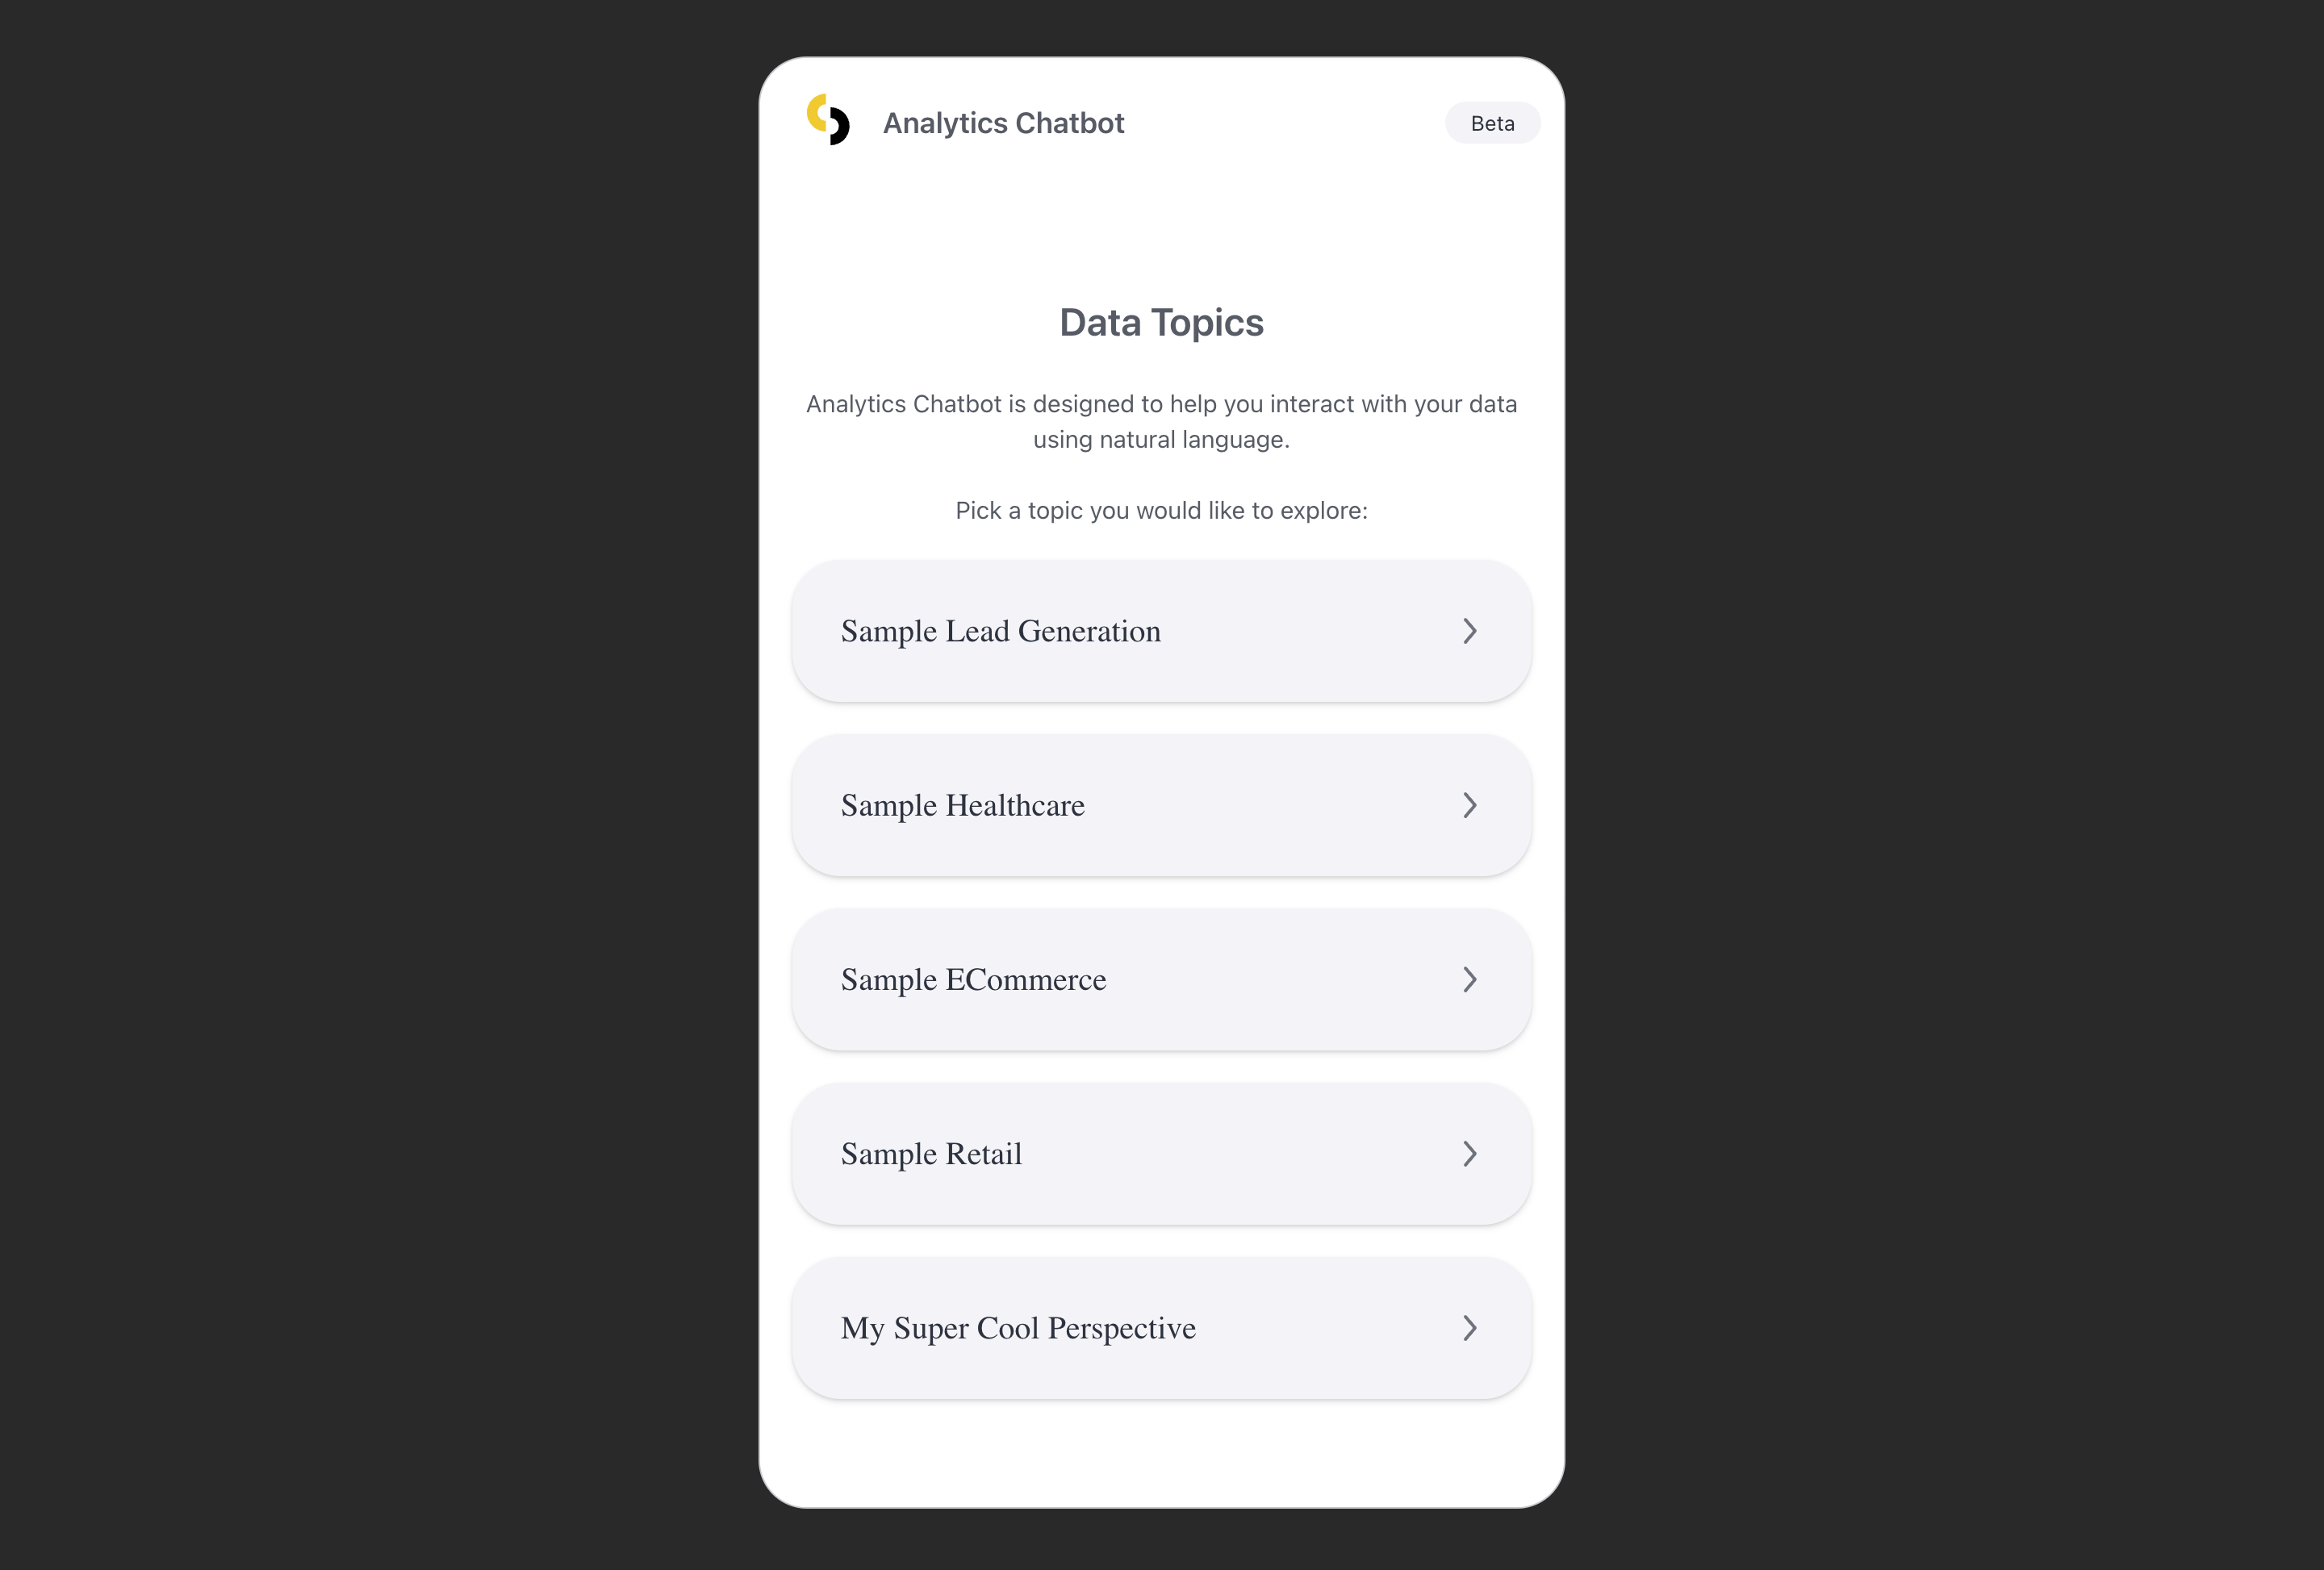
Navigate to http://localhost:5173 in a browser to see your chatbot. It should look like this:

Nice! We now have a chatbot that shows available data topics. Clicking on a data topic will start a chat with that data model/perspective as the chat context.
# Up next
In the next lesson, you'll learn how to customize the chatbot and render multiple chatbots on the same page. Go to Lesson 2.